
Part 3: Activities
Collect Assignments with Dropbox
The Dropbox tool allows students to hand in their assignments in the form of digital files (.docs, PDFs, JPEGs, MP3s, .movs) and allows instructors to grade and provide feedback online. The program saves students from having to print and hand-deliver papers, or sending bulky emails with hulking multi-media files enclosed. Instructors save time by streamlining the grading and feedback processes within a program purpose-built for the task.
Dropbox Basics
The Dropbox consists of a collection of folders, each linked to a unique assignment. When students are ready to turn in a project, they login to their course site, navigate to the Dropbox tool, select the Dropbox Folder associated with the assignment, and upload their file. After the student has submitted their project, instructors can then use the tool to view student files, provide feedback, and automatically link grades to the gradebook. Once the instructor is finished providing feedback and grades, the student then receives a message alerting them to the new feedback.
Create A New Dropbox Folder:
Step 1:
Access Dropbox. Click on the link Assignments tab in the navigation bar and then Dropbox.
Step 2:
You are now on the Dropbox Folder Page. All the Dropbox Folders you create will listed here.
To create a new Dropbox Folder click on the blue button at the top of the list labeled “New Folder.” Then give your new folder a Name.
Step 3:
Submission Folder Type. Decide what type of Folder Type you want for the assignment.
If you wish to collect individual assignment from students choose “Individual Submission Folder.” Each student will then be able to submit an assignment to the folder.
Group submission folder: Select this option if you want each group to submit an assignment. You must then associate the folder with a group category.
NOTE: Group Dropbox areas are marked on the Folder List page with the Group Submissions folder icon. Any group member can submit and view files for a group Dropbox. For more on groups click here.
Step 4:
Associate a Grade Item. Dropbox Folders can automatically post, or send grades to the Gradebook. You do not need to use this feature but really, why wouldn’t you?
You can associate a Grade Item to a Dropbox assignment in a few different ways.
A)
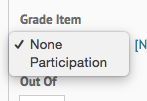
If you have already created a Grade Item in you Gradebook, select the Grade Item you wish to associate with the Dropbox Folder from the Grade Item drop-down list.
B)
If you have not created a Grade Item you can do so via the Grades Tool. Click here to begin the process of building a Gradebook in D2L.
C)
OR, if you have not created a Grade Item you can do so within the Dropbox Folder. Click on the link labeled “New Grade Item.” A new, smaller window will pop up.
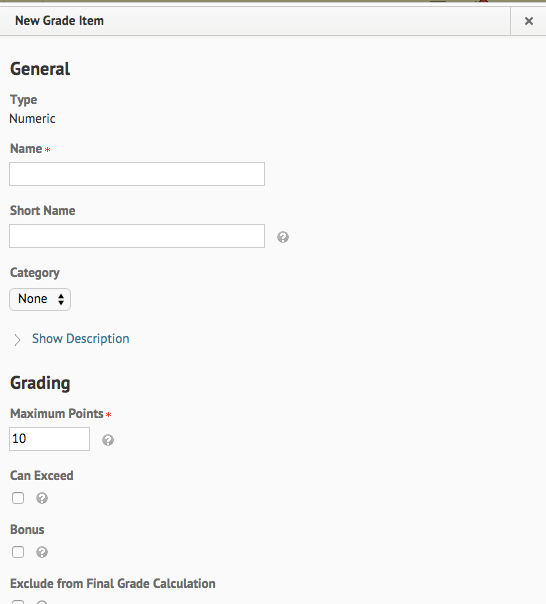
For clarity title the Grade Item is the same as the Dropbox Folder. You may skip the Short Name Field.
If you are using a weighted Gradebook with categories, select the Category you wish the Grade Item to belong.
Enter the number of points the assignment is worth in the Maximum Points field.
Very Important: This point value should be the SAME as the Out Of value you will assign the Dropbox Folder in the next step.
Can Exceed, Bonus, Exclude from Final Calculations, Grade Scheme, Rubrics, and Visibility will be covered in Part 5: The Gradebook.
You have now created a Grade Item in the Gradebook and associated it with the Dropbox Folder. Grades can now be automatically posted to the Gradebook.
Step 5:
Enter Out Of value for the Dropbox Folder.
Very Important: This point value should be the SAME as the point value you assigned to the Grade Item.
Step 6:
Optionals.
- Instructions – You may if you wish, provide your students with instruction.
- Attachments – You may also attach a related file for the students (perhaps additional information in a Word document or PDF.) or record an audio message or instructions for your students. This is at your discretion.
- Rubrics – Rubrics will be covered in the module Rubrics for Feedback and Grading.
- Submission Options – You can modify the Submission Options To see the advanced options click on the link labeled “Show Submission Options”
Files allowed per submission
Unlimited:This choice means students can place and unlimited number of files in the Dropbox Folder. This may be a good choice if you need to assess a collection of files.
One File Per Submission: This means only one file may be in the Dropbox Folder for a student’s submission at any given time.
Submissions
All Submissions are Kept: This may be a good option if you are collecting drafts as well as a final submission.
One Most Recent Submission Kept: This may be a good option if the students are to submit drafts, but you only want to assess the most recent submission at a time.
Step 8:
Save – Click the blue button labeled Save and Close to save your Dropbox folder and be brought back to the Dropbox Folder List
Grade Files in the Dropbox Folder:
To grade files in a Dropbox folder follow these instructions:
Step 1:
Navigate to Dropbox Folder Page: Click on the appropriate Folder from your list.
Step 2:
View Student Work – You can see when students have submitted a work by looking at the right hand columns in the Dropbox Folder List.
In the example below, the Dropbox Folder labeled “Final Project and Symposium has 17 files submitted and 3 unread files.

Step 3:
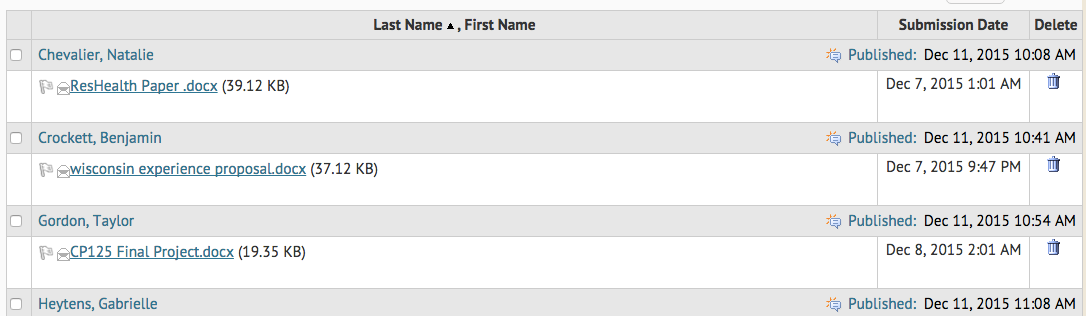
View Submissions – To access the files click on the Folder Name. You will be taken to the Folder Submissions Page.
You will see at the top of the page are a number of ways to search for specific student submissions.
Scroll down to see the list of students and their submissions or change the tab to see a list of submitted files. To open the file and the corresponding assessment window click on the title of the file.
Step 4:
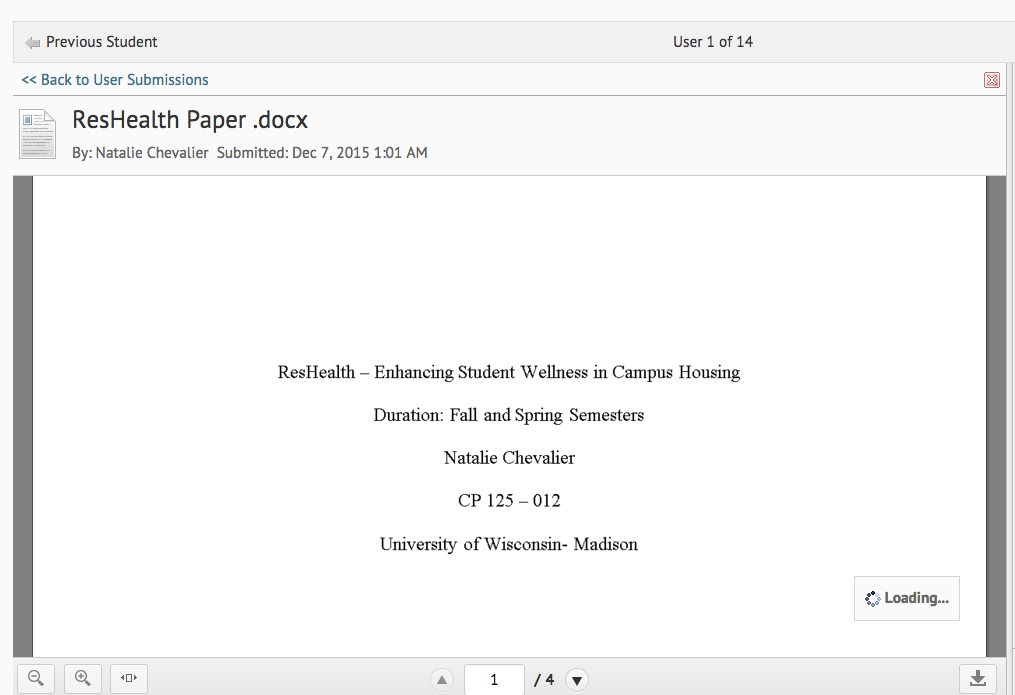
View the Files – A new window will open. The page will be dominated by a large frame where each file is listed and can be viewed.
For most file types you can open the file within this frame. However, you may wish to download the file using the download button in the lower right hand corner.
Step 5:
Provide Feedback – On the right hand side of the window is the assessment frame.
From here you can enter the student’s score and provide a variety of feedback. You may provide written feedback in the Feedback box, Add a File, or Record five minutes of audio to provide students verbal feedback. For more on various types of feedback, see Feedback in Dropbox below.
Step 6:
Submit. When you have finished providing your student feedback and scoring the assignment, click the blue button labeled “submit.”
If you have associated the Dropbox Folder with a Grade Item as described in the section above, the student’s score will be posted to the Gradebook automatically. See: Connecting Activities to the Gradebook for more information.
Step 7:
Go back to the Submission List or on to the next submission. To go back to the submission screen click the blue button labeled “Back to Folder Submissions” in the upper right hand corner of the frame. Or you can move on to the next student submission directly: Note the small forward and backward arrows in the upper right- and left-hand corners of the window (just below the Back to Folder Submission button).
Feedback in Dropbox
You have significant flexibility in the types of feedback you offer students in Dropbox. For each student submission you have the following options:
- Text Comments – You can provide simple text-based comments by using the Feedback box in the Dropbox evaluation file.
- Upload Comments File– You can upload any comments made on MS Word (or other word processor) by simply clicking on the Add a File button below the Feedback box.
- Audio Commentary – You can include one or more 5-minute audio recordings in which you can detail strengths/weaknesses of the paper very quickly.To include audio feedback: When evaluating a Dropbox submission, click Record Audio below the Feedback box. Then follow onscreen instructions.
Note: Providing Verbal Feedback can be a time-saving method. The five-minute time limit forces you to be concise and not spend too much time on any one student. Furthermore, you can provide students much more detailed feedback in five minutes of audio than you could in five minutes of typing. I’d suggest coming up with a very brief outline of what you would like to say before you start recording. Once you start, don’t stop if you stumble over a word – it doesn’t have to be perfect to be impactful!
- Video Commentary – You can give students video feedback. You may choose to record a video of yourself giving feedback, or you can use screen capture to walk a student through screen images of their submission while you verbally discuss their paper. Video can be easily created and integrated into a Dropbox evaluation file, but takes more steps than simply recording audio.To include video feedback: Within a Dropbox evaluation file, click on the Insert Stuff button within the Feedback Box, select My Media, click Add New, select Screen Capture (or Web Recording), follow onscreen instructions to create the video, and finally, Insert.For more information see Kaltura MediaSpace KB.doc.
- Review Sessions – You can discuss the assignment with a student via an interactive online discussion on Blackboard Collaborate. For more information see the Blackboard Collaborate Module, or the Blackboard Collaborate KB.doc.
A WARNING regarding edits with a word processor
You can use word processors (such as MS-Word) to give detailed feedback to students via comments or track changes. This can take much less time than writing out comments and you don’t have to worry about your penmanship.
However: Be mindful of your time when making comments via a word processor. For many, typing a word may take less time than writing it out on paper. Instructors frequently remark that typed feedback can take longer than written feedback as they are tempted to expand on the feedback they give in a typed document, thereby erasing any time gained by typing.
For more on how to give impactful feedback in Dropbox, see the module Grades, Feedback, and the process of Improvement.
Resources
Technology, Division of Information. “Learn@UW – Using the Dropbox Document Viewer.” University of Wisconsin – Madison, https://kb.wisc.edu/page.php?id=24027.
