
Part 2: Build a Course in D2L
Introduction to the Rich Text Editor
In addition to helping you host and organize the content for your course, you can also use D2L to create or re-mix content. The Rich Text Editor, in the Content Tool, lets you create pages with embedded images, links and videos . For example, in a lesson on the Great Depression you can create a page that starts out with an image showing the devastation of the time, write a couple of paragraphs about the image and then embed a short video of an interview of someone who lived through the Great Depression. You can also embed charts, graphs or simple statistics outlining the extent of the economic devastation and then follow that up with either text or an embedded video with your own commentary. You can finish the page with links to a few articles or websites that students can explore for further information. In this way you can mix text, audio, video and links to create an entirely new piece of content that will help your students better understand the topic.
Step-by-step Instructions for Using the Rich-Text Editor
Step 1:
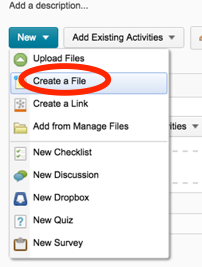
To access the Rich-Text Editor in the Content tool, click the blue “new” button and select “Create File.”
Step 2:
You have a choice of two editing modes.
WYSIWYG mode (What You See Is What You Get): which operates very similar to Microsoft Word.
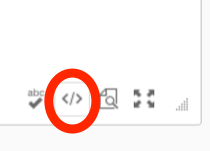
HTML editing mode: which allows you finer control over the file’s markup language. To access HTML editing, select the “</>” button located towards the bottom-right of the screen.
Note: The Rich-Text Editor is available throughout the D2L learning environment and works the same in all D2L tools in which it is used.
Step 3:
At the top of the editor you will find much of the functionality of a traditional text editor, such as Microsoft Word (bold, italic, underline, alignment etc.). It also contains a “quicklinks” button that allows you to insert an activity or object from another D2L tool (such as a Discussion, Quiz, etc.) or various equation editors (such as LaTex).
Additionally, the editor makes it easy to embed audio-visual content through the “insert image” button and the “insert stuff” buttons.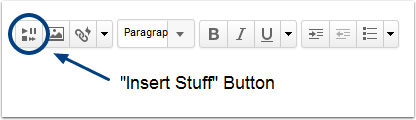
Step 4:
To embed an audio-visual file, click on “insert stuff.” This will display all the ways you can embed in the document including a youtube video and from Flickr. If you click on the “My Media” option, you can embed mp4 files from your Kaltura Mediaspace account. (Note that you can also embed audio-visual files from other sources, such as Vimeo, using the “Enter Embed Code” option.)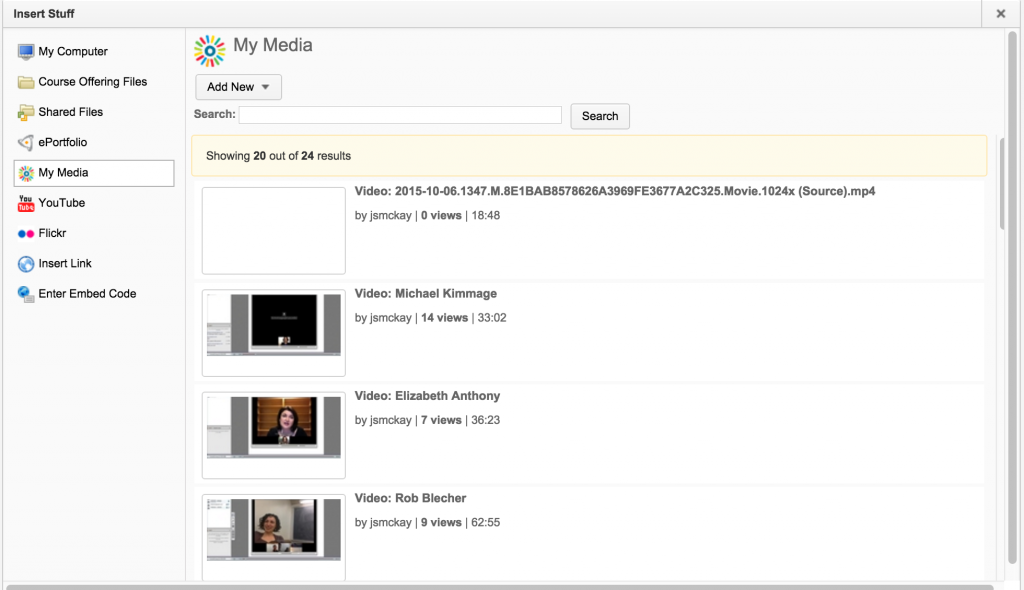
Step 5:
Add text, images or links around your embedded video to finish creating the file, then click “Publish.” If you do not want students to see the file yet or if you want to edit it later, click “Save as Draft.”
Resources
Division of Information Technology. “Learn@UW (UW-Madison Only) – Master KB: Content Tool.” University of Wisconsin – Madison, https://kb.wisc.edu/page.php?id=47867.
Division of Information Technology. “Learn@UW (UW-Madison Only) – Master KB: Setting Up for the Semester for Instructors.” University of Wisconsin – Madison, https://kb.wisc.edu/page.php?id=44787.
