
Change Captions File to Transcript
PART 1: Create and Edit Captions in Kaltura
The silent video above outlines Part 1.
Step 1.1: Enter the Captions Section of Kaltura
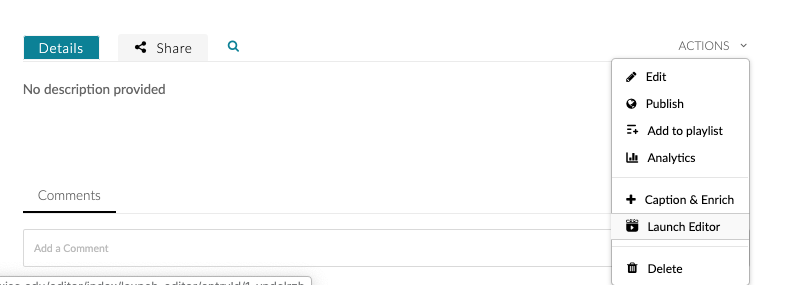
Below the downloaded audio or video file, you’ll see additional details. If you have the requisite permissions for a video, you’ll be able to click Actions > Caption and Enrich.
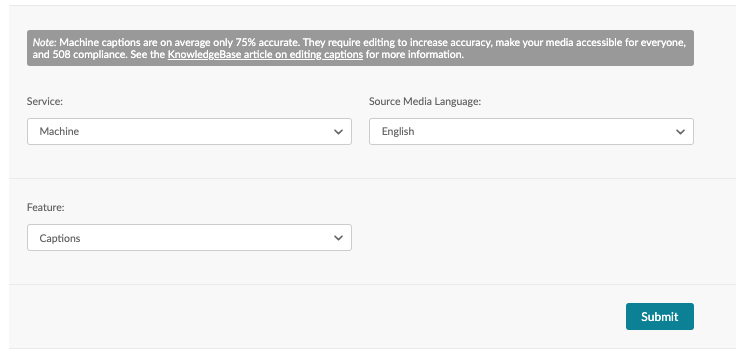
Step 1.2: Submit Machine Captioning Request
When you see the machine captions screen, click “Submit.” (Alternatively, the text may read “Order.”) If you’re the media owner, Kaltura will email you when the machine captioning is complete.
Step 1.3: Correct Machine Captions
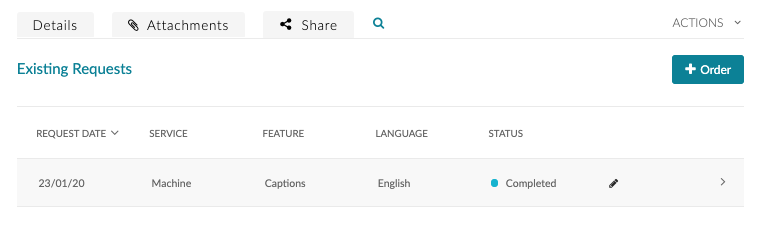
Once the machine captioning is completed, going to Actions > Caption and Enrich will take you to an “existing caption requests” section of Kaltura. Clicking on the pencil icon next to the existing machine captions will allow you to edit the captions file.
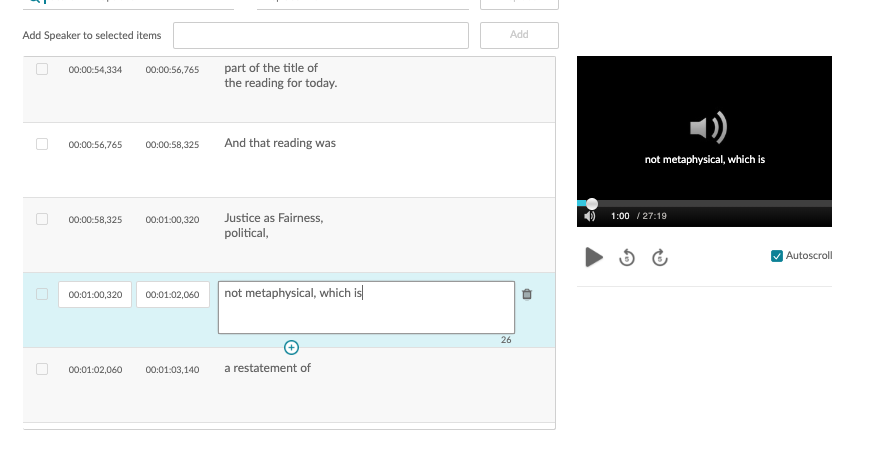
It’s usually a good idea to do your captions editing within Kaltura rather than at a later point in this process because you’ll be able to locate the timestamped recording in the audio file more easily.
PART 2: Download Captions File From Kaltura
Step 2.1: Download Corrected Captions
Once you’ve saved your captions, go back to the video’s main page and click Actions > Edit.

Next, click on the Captions tab.

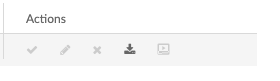
You’ll see a series of light grey icons next to the existing captions file. Click on the download icon (three icons in).
PART 3: Change Captions File Into Editable Text File
Step 3.1: Change SRT file into TXT file
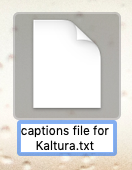
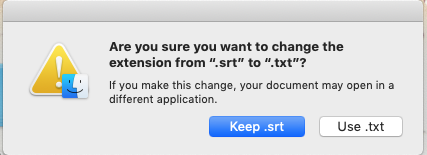
The Kaltura captions file will download as a .srt file. If you rename the file and change the file extension from .srt to .txt, it should convert appropriately. (Your computer may send you a warning message about changing the file extension, but you can proceed anyway.)

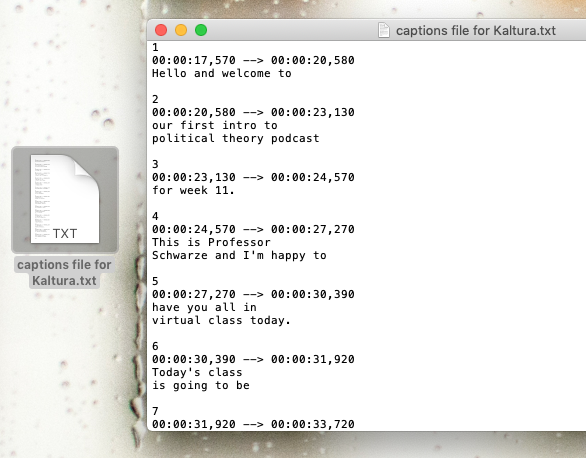
The resulting text file will include all of the timestamps that existed in the original captions file as well as a number of extraneous paragraph breaks.
PART 4: Use Excel to Remove Extraneous Timestamps
Step 4.1: Paste text into Excel and prepare to sort
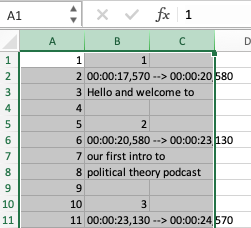
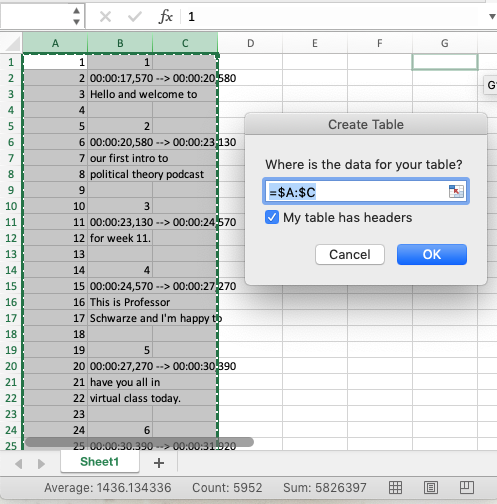
Open an Excel document and copy/paste all of the contents of your .txt document into the second column of a new sheet.
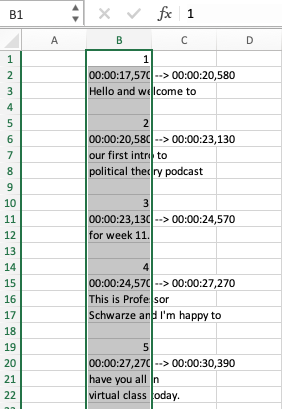
Why the second column? Because we’ll want to use the first column (Column A) as a sorting column. We want to know what the original order of text information was because we’re about to mix things up in the transcript file.
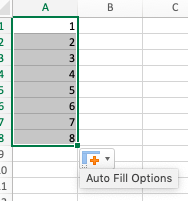
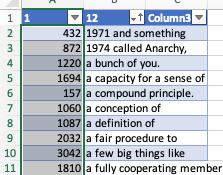
To set up this sorting column, number the cells in the first column (Column A) sequentially from 1 until the end of your text. (If you enter in the numbers 1-6 or so, you should be able to select those numbers and then drag the square at the bottom right corner of the cell to continue to number sequentially.)
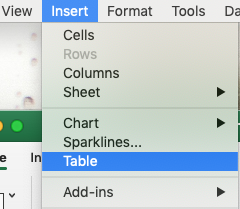
Finally, select the first two columns of text and convert them into a table. (Insert > Table.) Click OK.
Step 4.2: Sort out numbers from words
Your goal here is to remove blank cells and numbered timestamp information so that you have a block of meaningful text you can edit.
For now, you’ll ignore the numbers in Column A. (We’ll use them later to put things in sequential order again.)
Click on the down-arrow inside Column B to enter the sorting menu. Click “Sort > Ascending.”
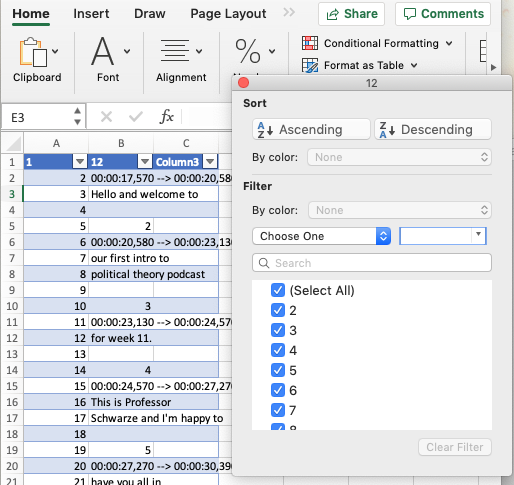
Sorting in this way will effectively separate out timestamps, blanks, and other extraneous information from semantic content.
Next, select all of the rows that contain numbers and timestamps. Right-click > Delete. (You’ll want to fully delete these unneeded rows instead of simply clearing them).
If you scroll to the very bottom of your inserted text after the alphabetic content, you’ll see a number of empty cells that are still numbered. Delete these as well– keeping them in will only create unnecessary gaps in your transcript.
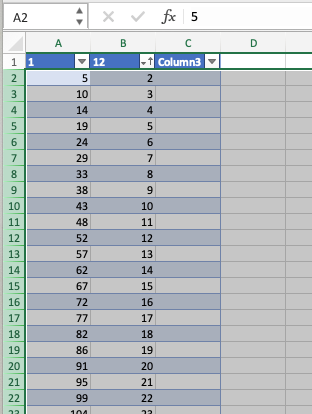
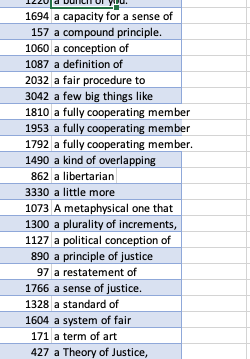
What you’re left with is a jumble of alphabetically-sorted phrases like this:
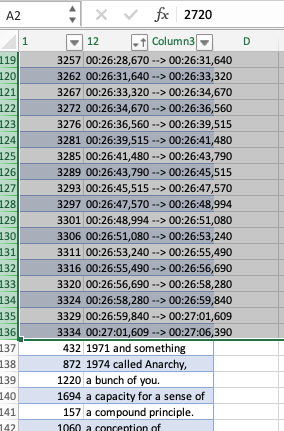
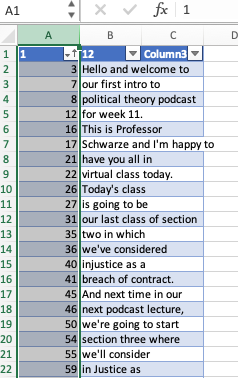
This is where the numbers we added to Column A become relevant again. Click on the down-arrow dropdown next to Column A and click Sort > Ascending.
Once the sort occurs, you should see a column of meaningful text emerge.
PART 5: Convert Text Into Transcript Block Using A Document Editor
Step 5.1: Paste Excel text into Word
We’ve taken out the timestamps and extraneous gaps in your transcript. Now, all we need to do is format the text so that a person could comfortably read it.
To do so, copy the transcript text from your Excel file (Column B) into your clipboard (Control + C).
Open Microsoft Word.
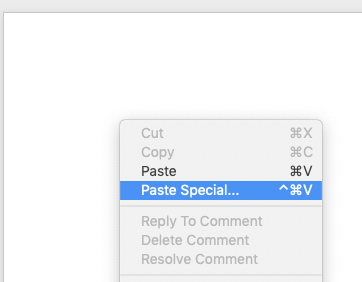
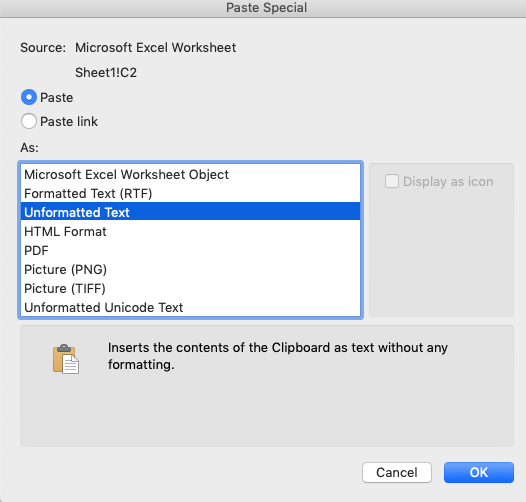
Right-click on the page, then click “Paste Special” and select “Unformatted Text.”
The transcript should appear on the page, but it will still have paragraph breaks that interrupt the text:

Step 5.2: Remove paragraph breaks from text
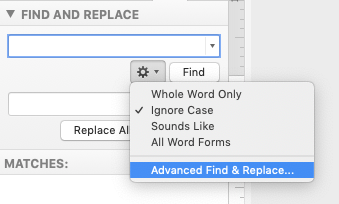
Go to “Find and Replace” and click on the settings icon dropdown. Click the “Advanced Find & Replace” option.
At the bottom of your “Advanced Find and Replace” window, you should see the option to select “Format” and “Special.” Click on the dropdown option for “Special” and click “Paragraph Mark.”
Your “Find What” bar should now include the text “^p”.
(A shortcut: you can also simply type in “^p” into the “Find” bar to locate paragraph breaks.)
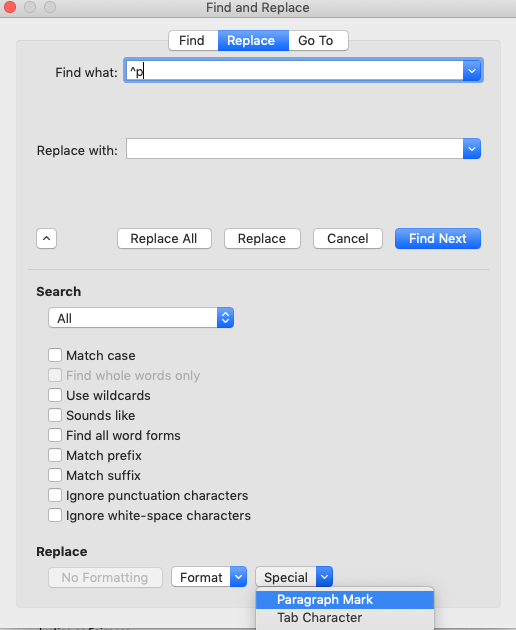
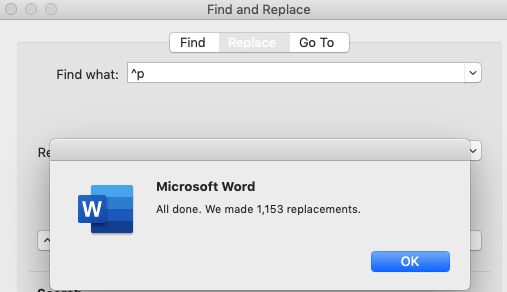
Add a single space in your “Replace With” text entry bar. Next, click “Replace All.”
You’ll be left with a block of text:

From here, we recommend breaking up your block of text into distinct paragraphs and sub-headings to support page navigation.
