
Lab 8: PROCEDURE
Preparation of the 15% resolving gel.
This video demonstrates how to set up a resolving gel:
- Put on gloves. Clean the glass plates with EtOH and a KimWipe.
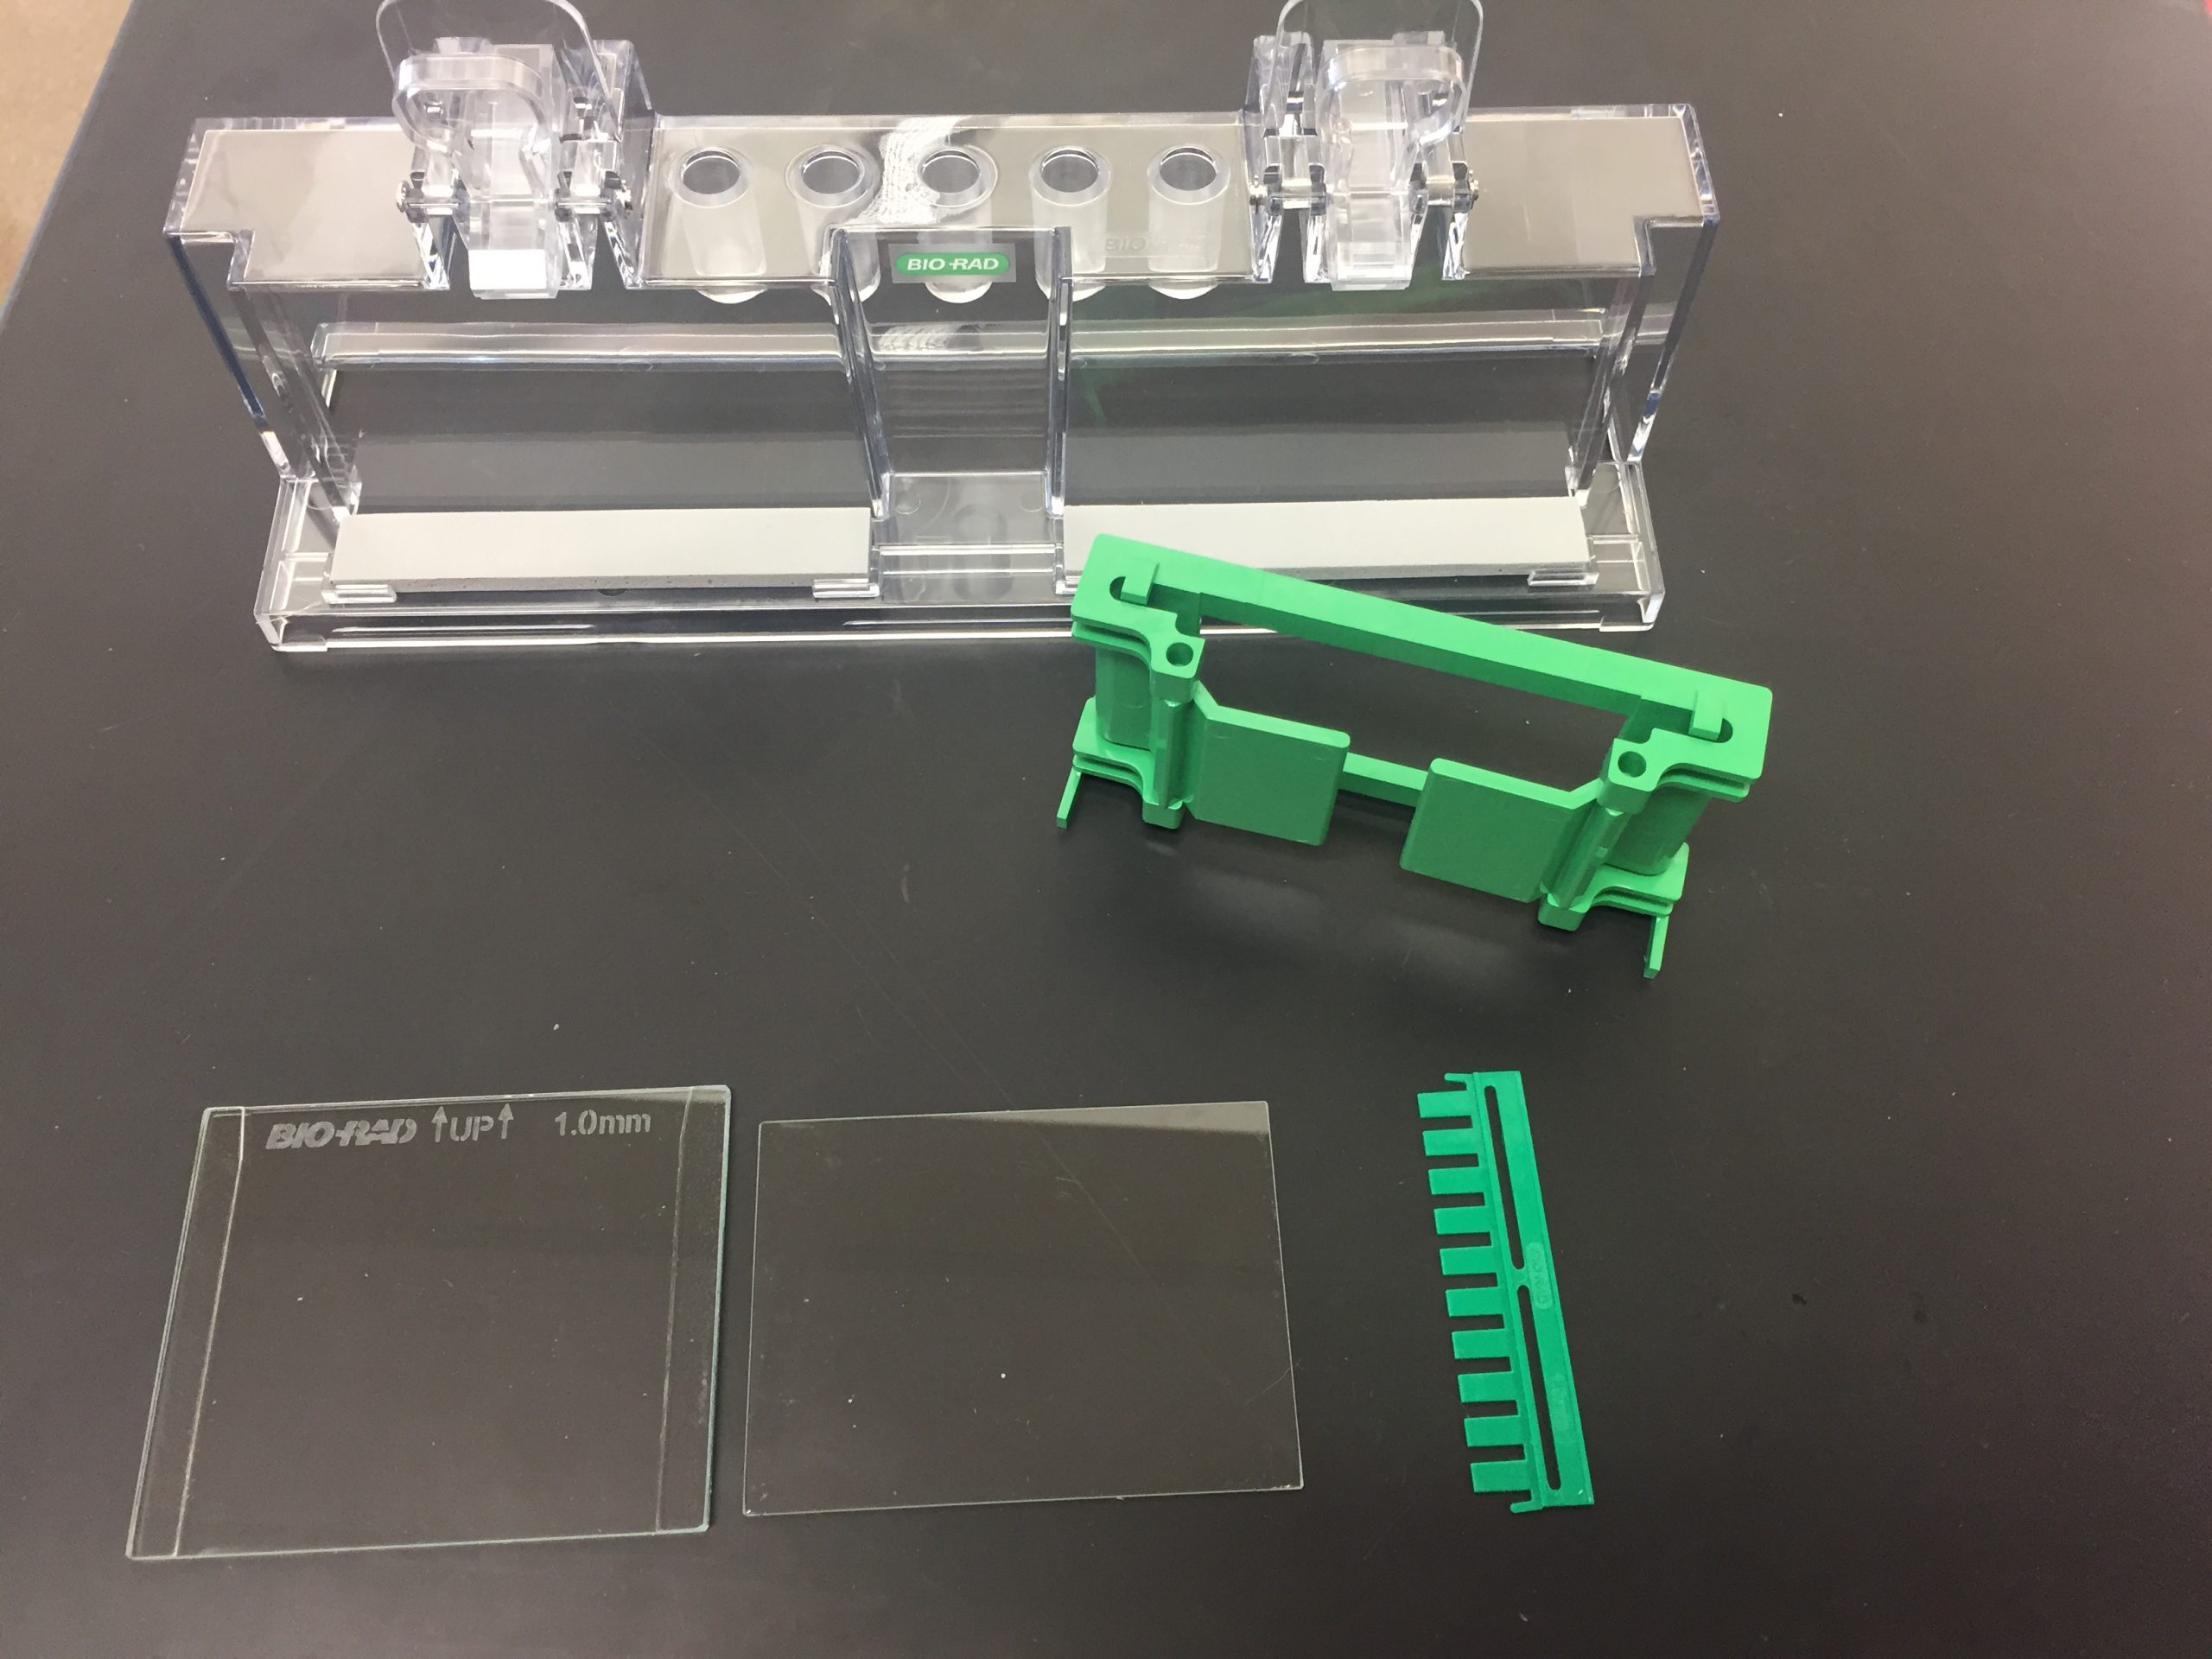
- Assemble a gel-pouring apparatus:
- Start by placing a short plate on top of a tall plate, taking care that the tall plate is oriented with the writing at the top.
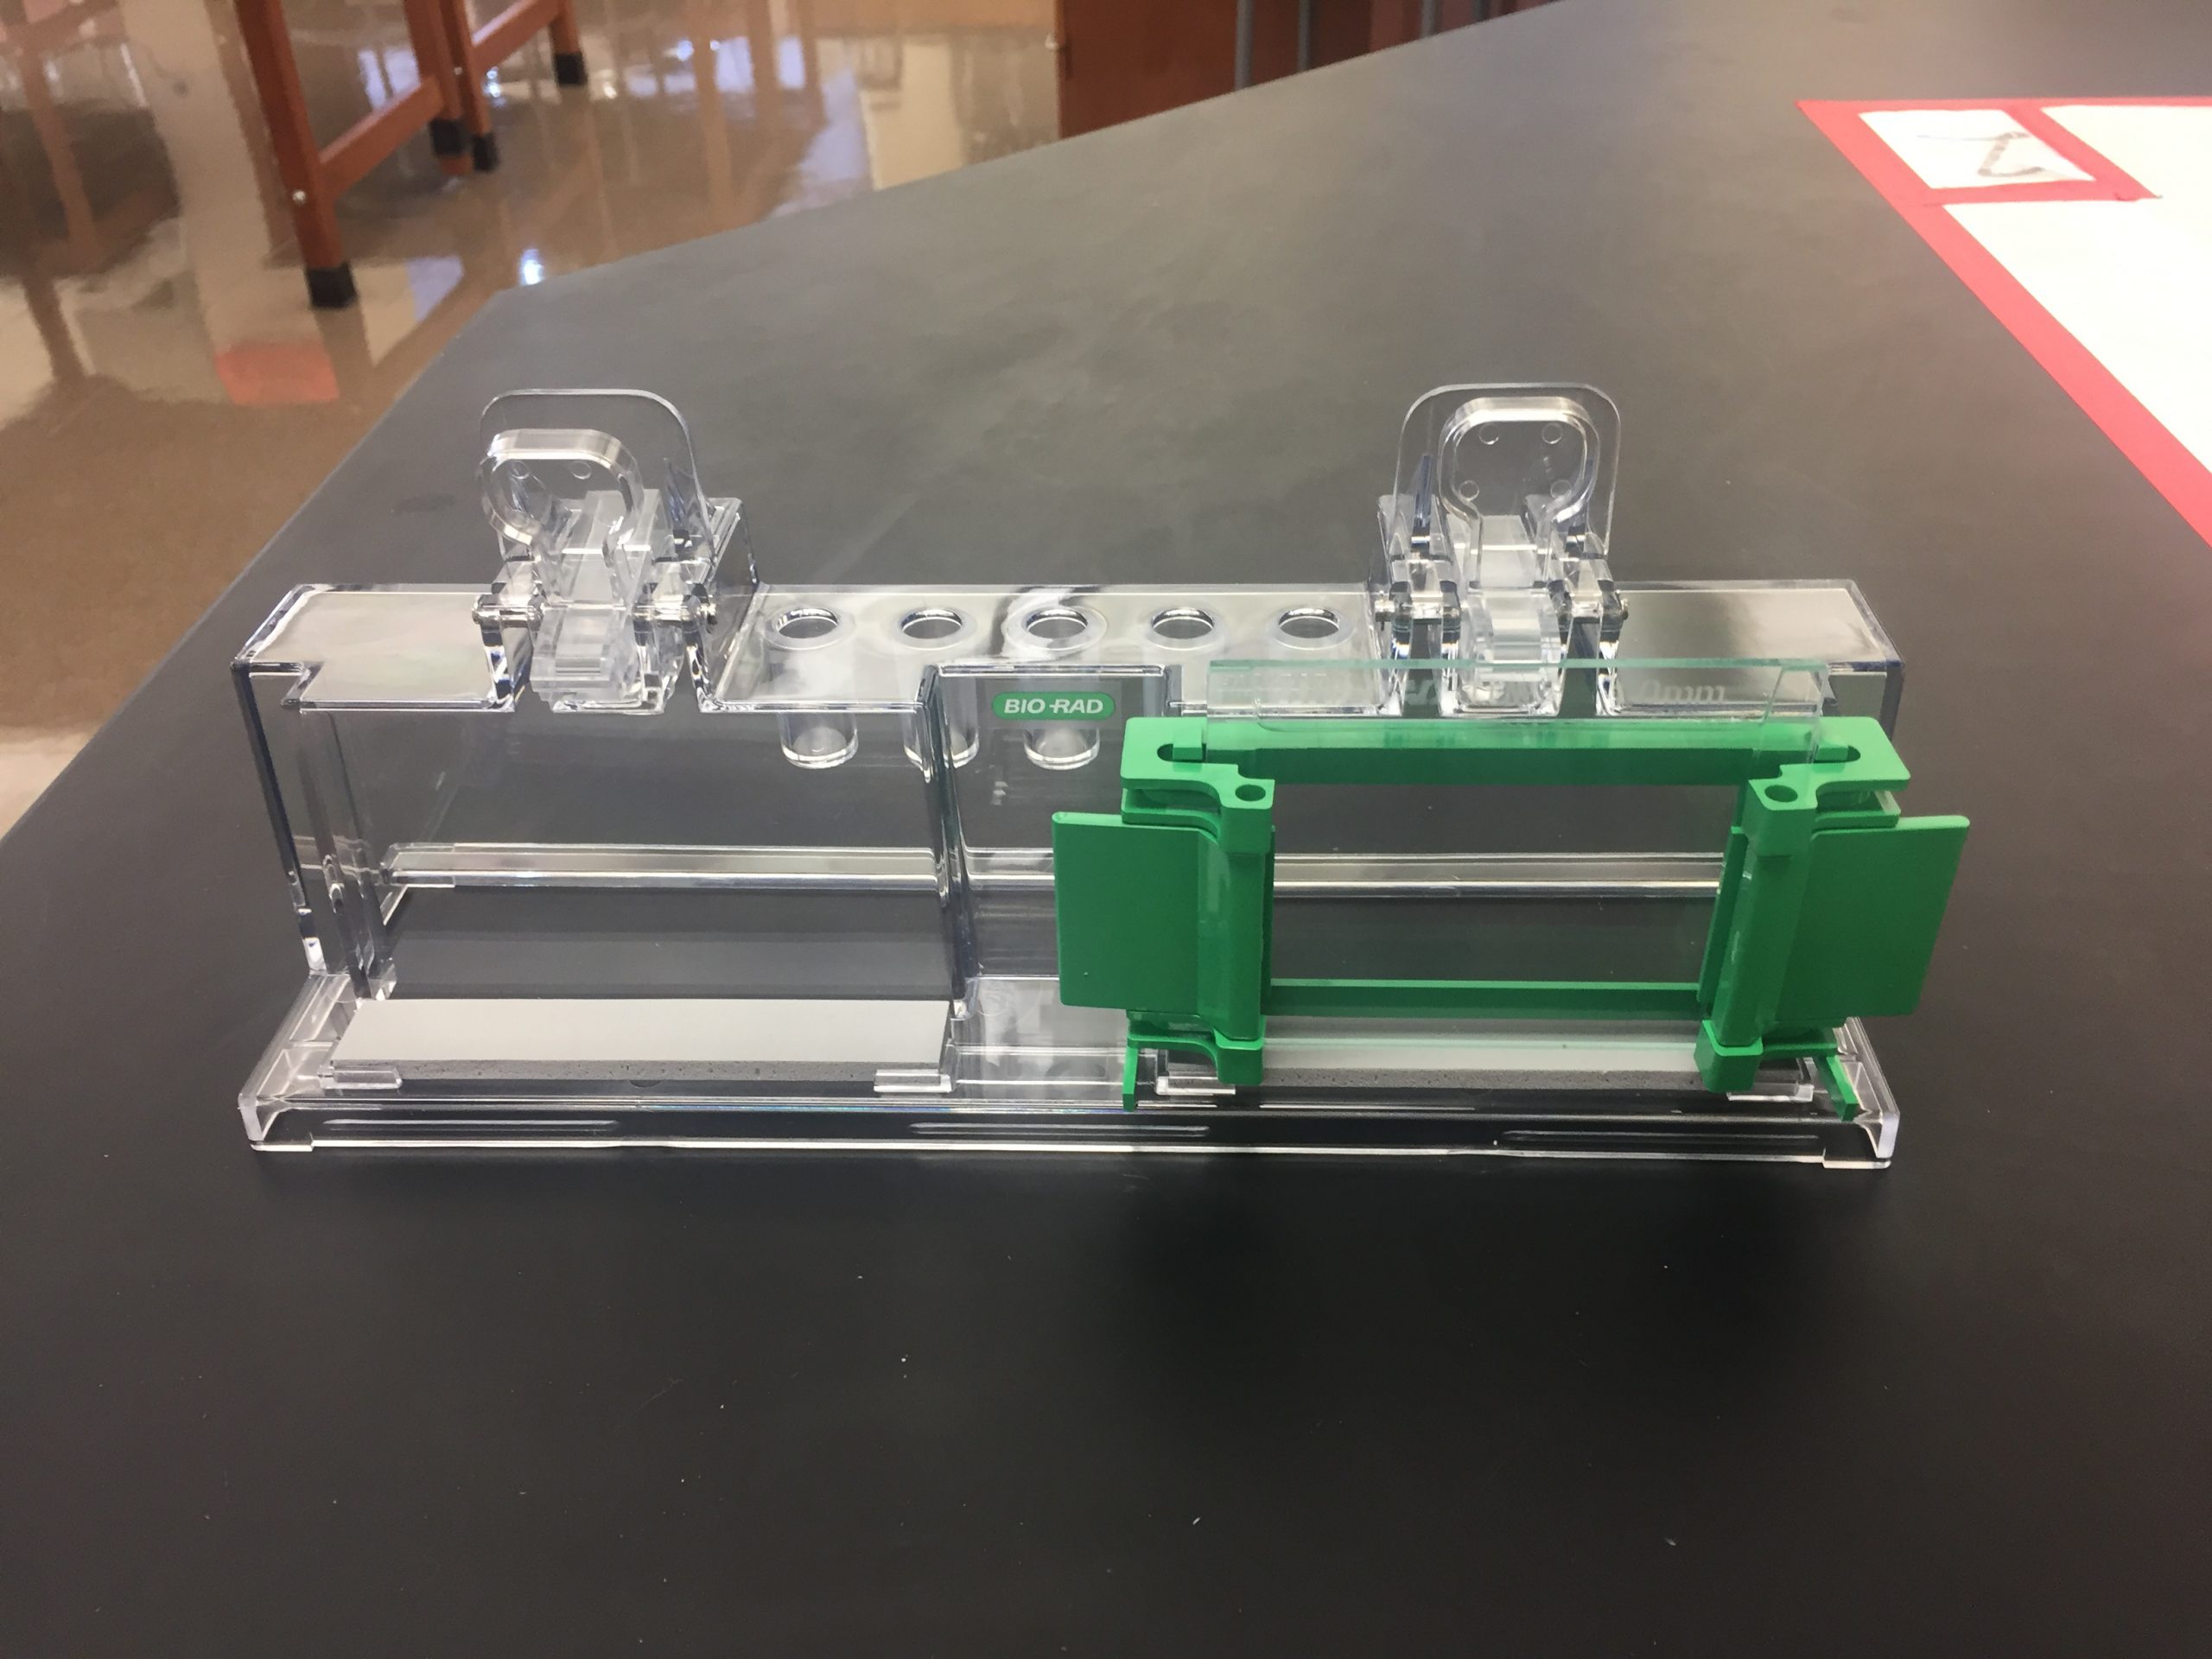
- Next, place a casting frame on a flat surface with the pressure cams in the open position.
- Slide the plates in such that the taller plate is in back, and clamp the pressure cams in place to hold the plates.
- Check that the plates are flush across the bottom. Place the casting frame into the casting stand by positioning the frame on top of a grey gasket while engaging the spring-loaded lever onto the tall plate.
- Check for leaks by filling the apparatus with 75% ethanol. Let it sit for ~5 minutes to check for slow leaks. If there are no leaks, pour the ethanol out and use a Kimwipe to dry the plates as much as possible without disassembling the apparatus. If it leaks, check the following:
- Plates might be misaligned or oriented incorrectly.
- The grey gasket might be torn or worn down. Try putting a strip of parafilm on top of the gasket.
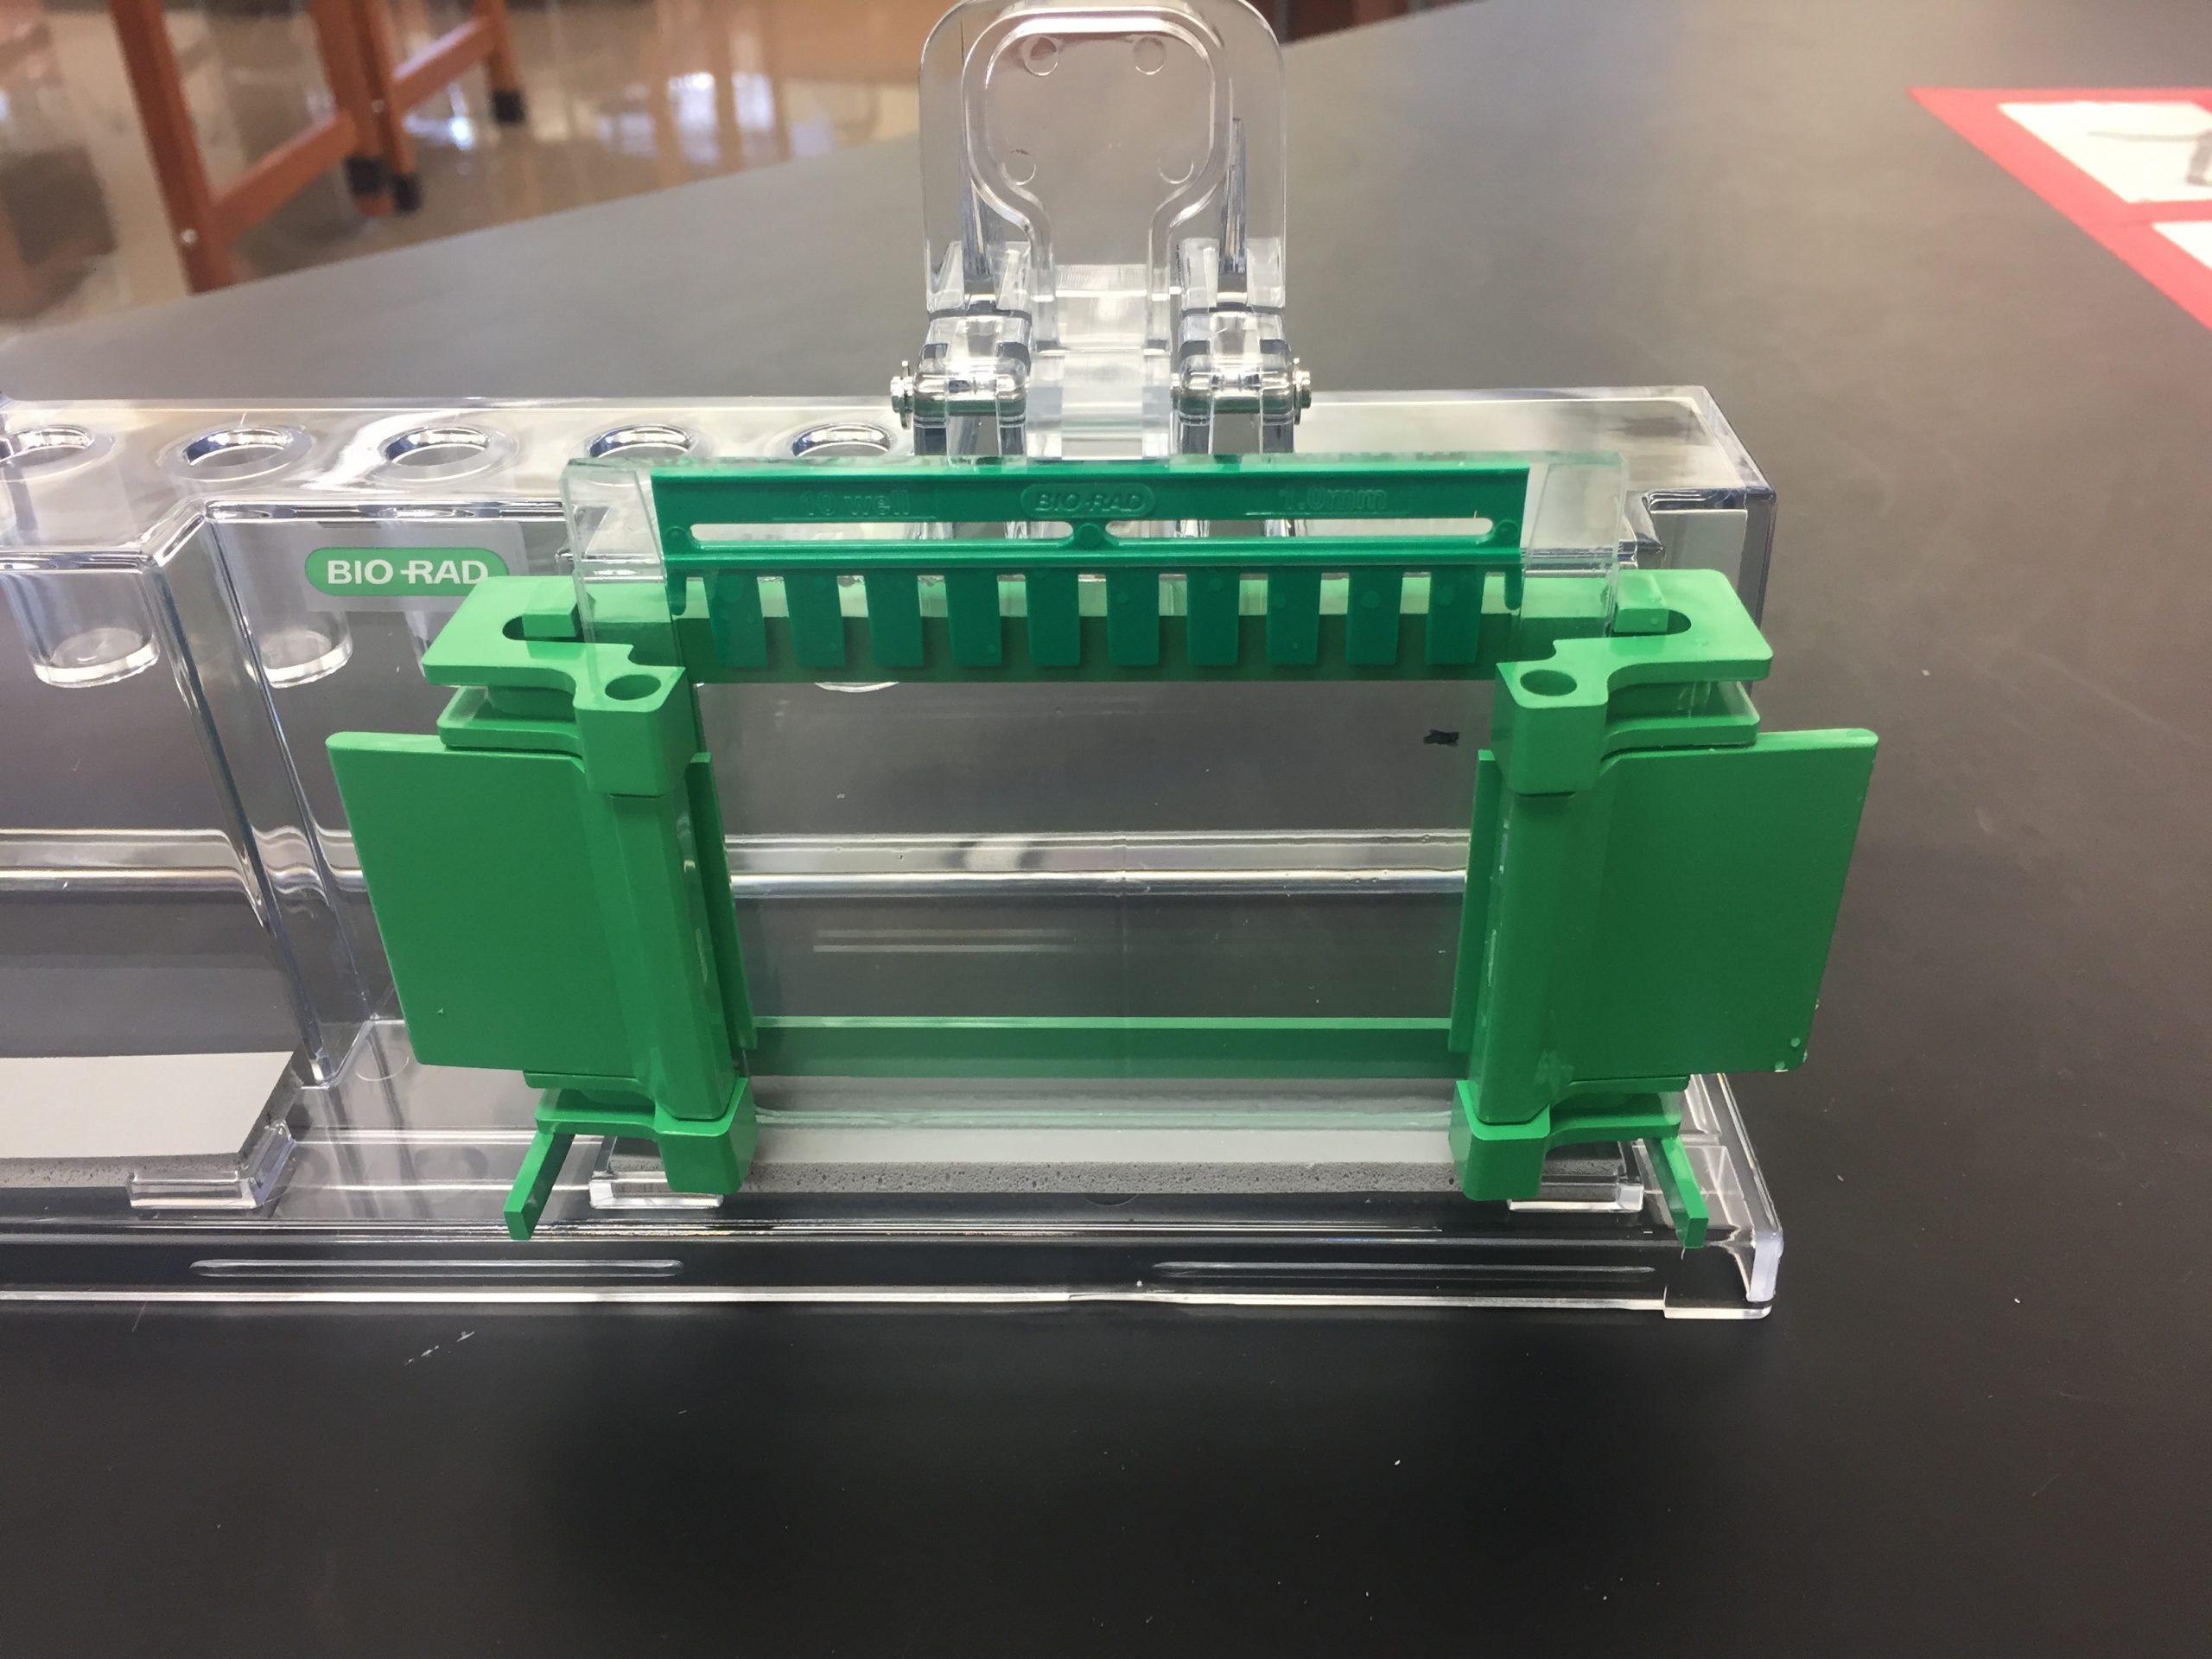
- Insert a comb completely into the assembled gel cassette. Mark the glass plate 1 cm below the comb teeth. This is the level to which you will pour the resolving gel. Remove the comb.
- We will provide 3.75 mLs of 40% acrylamide in a tube labeled “R”. Add 2.5 mLs of resolving gel buffer and 3.75 mLs of water to the vial. Mix by gently inverting several times. Take a tube of 10% APS and a tube of TEMED back to your pod – this is enough for you and your partner to pour two gels in total.
Lab Safety Notice
Liquid acrylamide is a neurotoxin! When working with it, please observe the following precautions:
- Wear gloves and eye protection.
- Return any unpolymerized acrylamide to your TAs.
Note that once it polymerizes, it is no longer toxic.
- Add 15 μL of TEMED and 50 μL of 10% APS to the acrylamide vial. Keep the tubes of TEMED and APS on ice – you will need them later for the stacking gel.
- Mix the solution by inverting gently several times. Try to avoid foaming the SDS or mixing air bubbles into the solution.
- Using a long-tipped Pasteur pipette, immediately transfer the solution into the gel apparatus. Fill the gel to the mark you made on the glass.
- Using a squirt bottle, gently layer some ethanol on top of the acrylamide solution. This will help to form a smooth polyacrylamide surface to pour the stacking gel onto, as well as prevent the gel from drying out. Do not move the gel until polymerization has occurred which typically takes 15-45 minutes. While waiting for the gels to solidify, you can prepare your protein samples.
Collecting your protein from the dialysis tubing
- Remove your tubing from the beaker.
- Perform the following steps over a clean beaker (in case your protein spills!):
- With one hand, firmly hold the tubing above and below the top clamp. With the other hand, gently unclamp the top clamp and set it aside.
- Use a clean pipet to remove the protein from the tubing and place it into a clearly labeled 15 mL tube.
- Take a 10 μL sample, add 10 μL of SDS sample buffer, and heat at 95°C for 10 minutes.
- Measure the A280 of the dialyzed protein. Use Beer’s law to determine the protein concentration from the A280. Based upon the readings from last week, did you lose any protein during dialysis? (Note that this measurement and/or calculation can be done later, while your gel is running.)
Preparation of frozen SDS-PAGE samples from previous lab
- Thaw the samples, heat at 95°C for 5 minutes, and spin them in the microcentrifuge for 2 minutes to pellet any insoluble material.
- Also heat the MW markers at 95° C for 5 minutes and then spin the tube for a few seconds to ensure that all the marker is at the bottom of the tube.
Preparation of the 4% stacking gel – after the resolving gel has polymerized
The following video demonstrates how to prepare a stacking gel:
- Put on gloves.
- Before preparing the stacking gel, make sure the resolving gel has already polymerized. Watch for the appearance of a visible separation between the ethanol and the gel. When you think your gel is ready, carefully start to tip it to the side. It should be obvious that the gel is solid and will not pour out of the apparatus. If not, give it more time.
- Carefully invert the gel apparatus to pour off the ethanol layer. Remove any remaining ethanol from the corners using a Kimwipe.
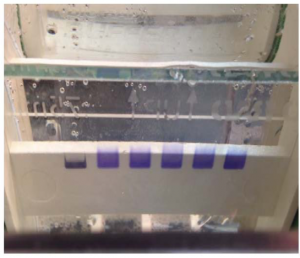
- Insert the comb into the gel apparatus with one side sticking out enough to allow you to add your stacking gel solution with a Pasteur pipette (see figure below).
- Get a conical tube, labeled “S,” containing 1.0 mL acrylamide. Add 2.5 mLs of stacking gel buffer and 6.5 mLs of water to the vial.
- At your bench, add 20 μL of TEMED and 100 μL of 10% APS and mix carefully.
- Using a long-tipped Pasteur pipette, immediately transfer the solution into the gel apparatus. Add stacking gel mixture until it fills the space between the resolving gel and your comb.
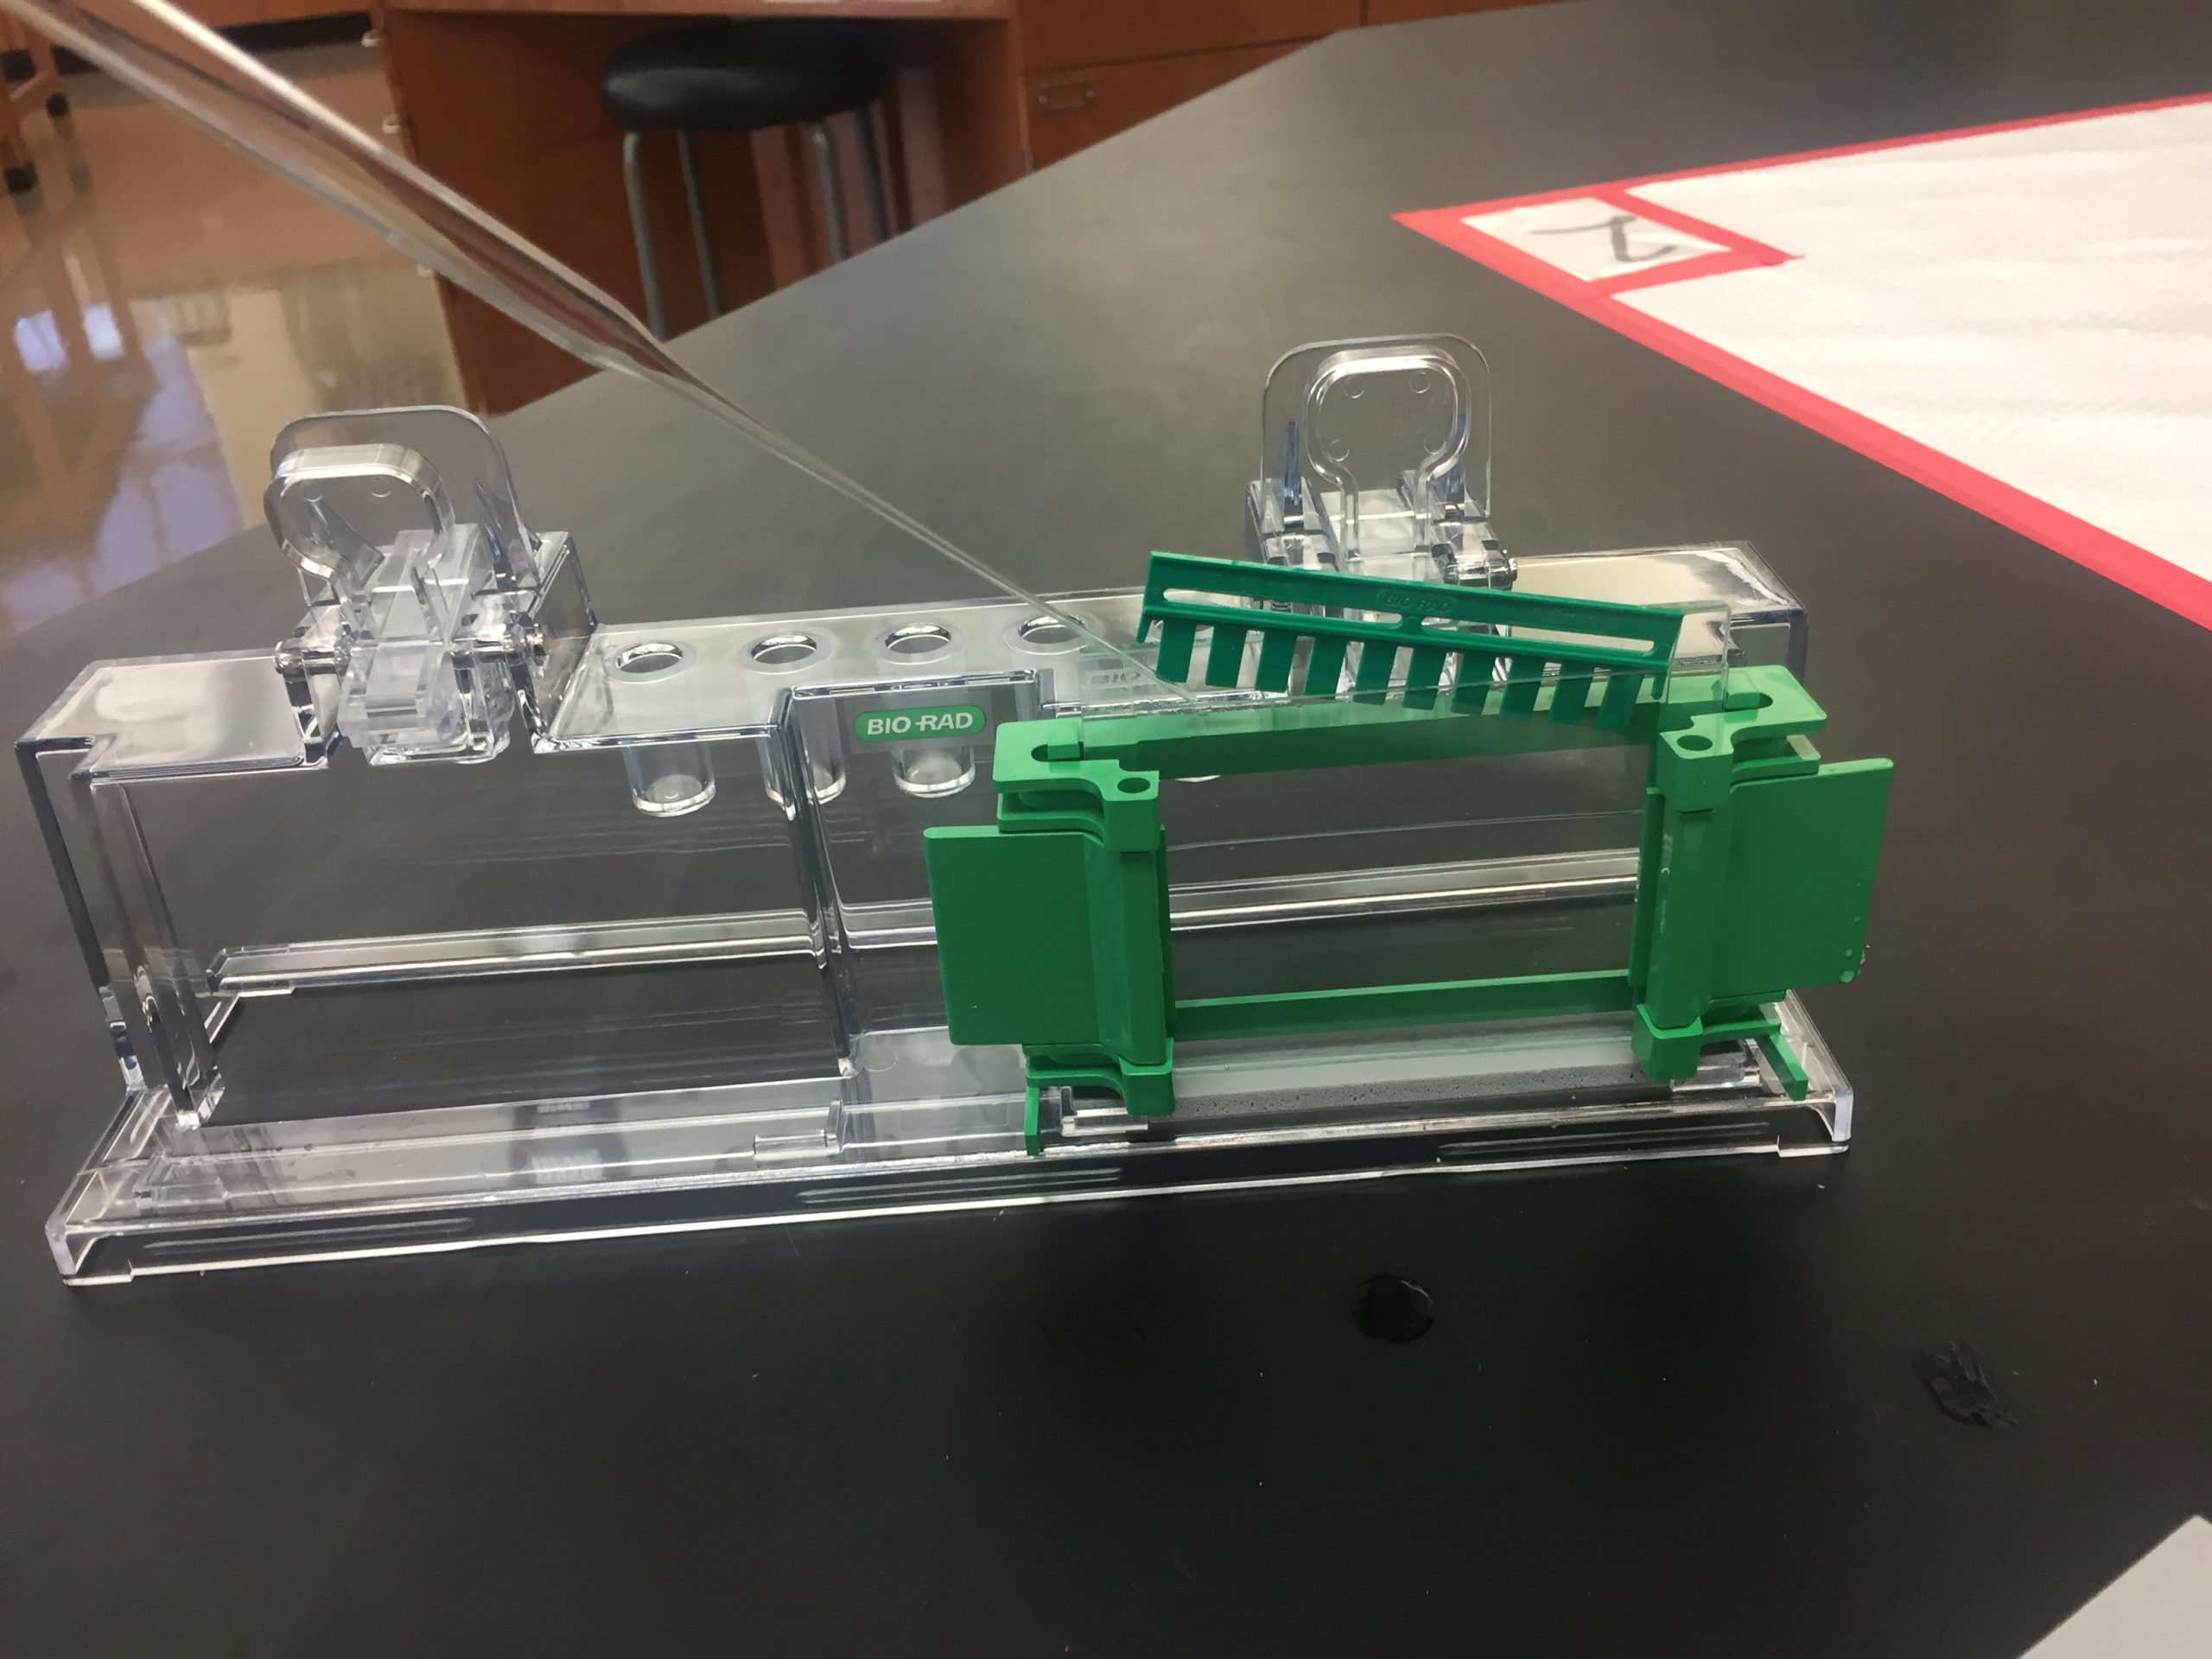
Fig. 8.11. Insert the comb while leaving enough space to pour the gel. Pour until the plates are completely full, then slide the comb all the way down. - Gently slide the comb all the way into the acrylamide in the gel apparatus. Try to avoid splashing the acrylamide when the comb is inserted. Keep a Kimwipe handy to wipe up any overflow acrylamide. Do not move the comb too much after inserting it because the gel will begin to polymerize quickly.
- Wait for the stacking gel to polymerize.
- GENTLY pull out the comb.
The following video shows how to assemble and load the gel apparatus:
- Obtain 160 mL of 5X Running Buffer. Dilute it to 1X with diH2O from the tap and use that in steps that follow. You may be able to skip this step and re-use used 1X buffer, if available.
- Take the electrode clamping frame out of the gel box and drop the green clamps on either side. Slide the gels, one into each side. Gels should be slid in bottom first, so that the bottom of the gel is all the way down in the clamping frame. They also need to be placed so that the shorter glass plates face inward. Once the gels are in place, lift the green clamps on both sides until they lock into place.
- Place the electrode assembly into the electrode chamber, matching colors (red on electrode assembly to red on gel box). Fill the inner chamber completely with 1x SDS running buffer so that the current can flow through the gel. The current will not flow through the non-submerged part of the gel.
- Add enough running buffer to fill the outer box to the level marked “2 gels” on the outside of the box.
- Load 8 μL of the markers and 10 μL of the samples you chose to run for the experiment. Load the gel as you drew it in your pre-lab. Note that the samples from lab 6 will probably be very viscous because of all the cell debris they contain. It is usually easiest to pipette these using the special gel loading tips. Let the TAs know if you’re having a lot of trouble.
Applying the voltage
- Place the cover on the electrophoresis unit. Be sure to connect each plug to the like-colored socket. Like when we ran DNA on agarose gels previously, it is possible to run an SDS-PAGE gel in the wrong direction. Pay attention to how you plug in your leads.
- Turn on the power supply and run at 100 V until the dye front is completely through the stacking gel (approx. 15 min.) and then turn the power up to 200V to run the samples through the resolving gel.
- Continue the electrophoresis until the dye front is almost completely run off the bottom of the gel. Do not allow the dye front to completely run off the gel, but try to get it very close, so that you get good separation of the protein bands. It is ok if you start to see some the dye front running off the bottom and floating away in the gel box.
- Turn off the power and unplug the leads from the power supply. Remove the cover. Pull the electrode assembly out, being careful not to dump buffer everywhere. Used 1x SDS running buffer should be poured into the “Used” carboy.
Staining the gel
- Add Coomassie Blue staining solution (re-use if used stain is available) to your staining box.
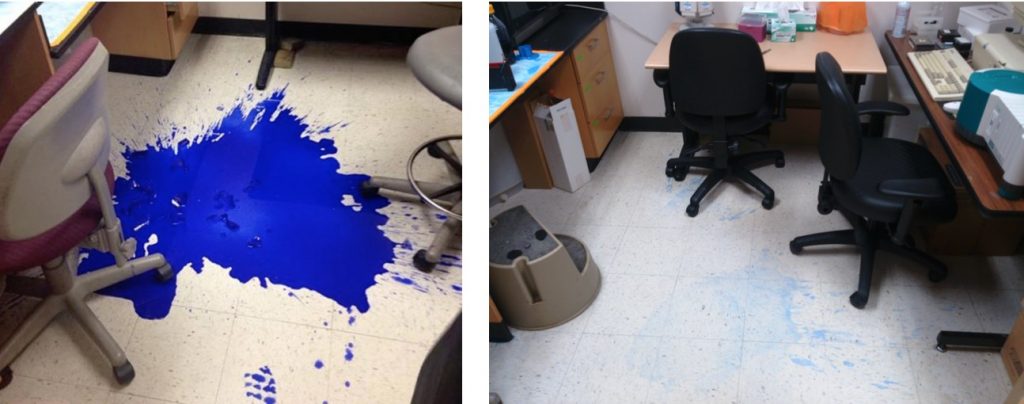
Fig. 8.13. BE CAREFUL! Coomassie blue stains proteins, like those in skin…and clothes and…floors… - Open the green clamps of the assembly and remove the gels.
- Carefully pry apart the two gel plates. Apply pressure only at the center of the edge of the gel sandwich, NEVER near the “corners” as they will break off. You can use the green gel plate separator tool to help with this. The gel should adhere to one of the glass plates.
- Transfer the gel from the glass plate into the staining box containing Coomassie blue. Invert the plate with the gel over the box and gently lifting one corner of the gel with your finger. Once some air moves under the corner of the gel, it should slide off the plate.
- Heat the gel in stain for 45 seconds in the microwave. Shake for five minutes on a platform shaker.
- Pour off the stain into the used stain bottle — the acetic acid has a strong smell, so try not to breathe it in too much. Rinse the gel with dH2O and pour off in the sink.
- Place the gel in destain (enough so the gels float freely) and add two wadded Kimwipes to your staining box (this will help draw stain out of the destain solution). Microwave for 45 seconds. Shake for ten minutes.
- Replace the Kimwipes with new ones. Shake overnight.
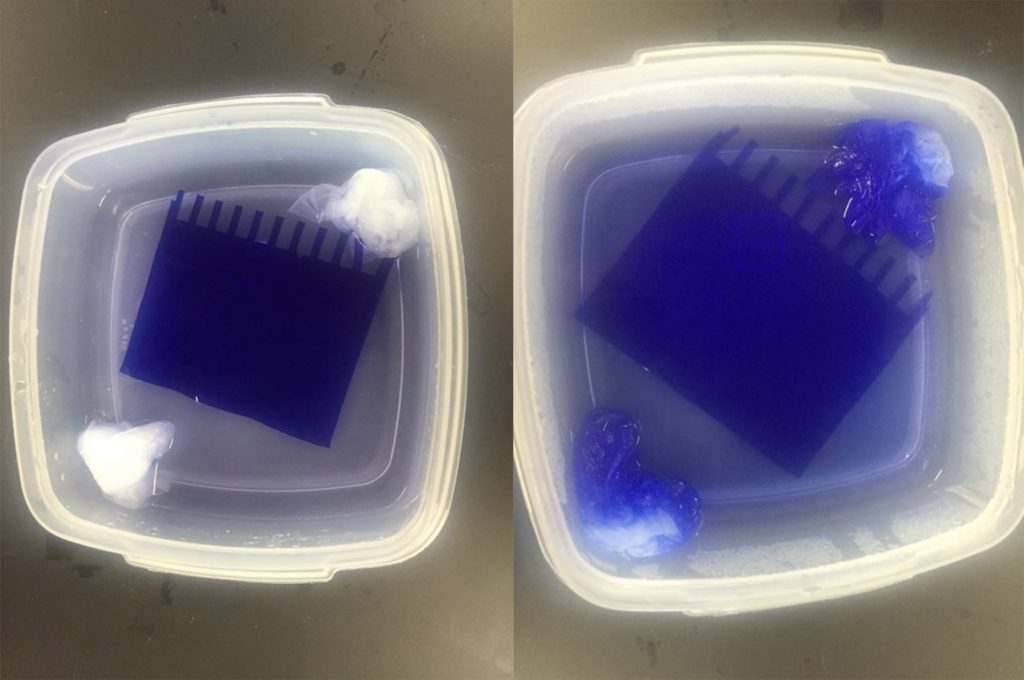
Fig. 8.13. Left: After staining but before destaining, the gel should appear uniformly dark blue. Right: After microwaving in the destain, you can see the gel start to get lighter. After shaking overnight, the gel should be completely destained so that only protein bands are still blue.
Clean up the gel apparatus, glass plates, and work area. All gel components should be rinsed thoroughly with water and left to dry on your tabletop.
Come into lab the day after your scheduled lab period. You will use the gel doc to image your gels. It is the same procedure as visualizing DNA gels, except we will use a different visualization tray. DNA gels utilize a UV light tray, while Coomassie gels utilize a “white light” tray.
